
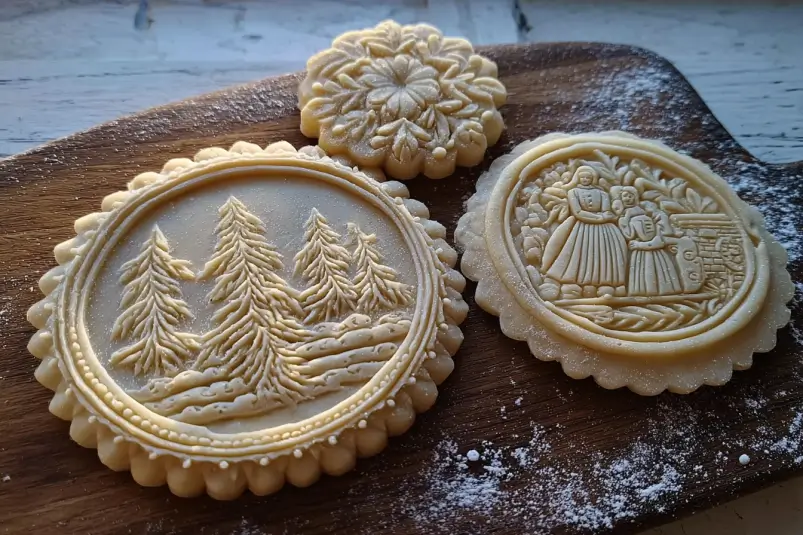
Every memorable pie starts with the same essential foundation: the crust. While fillings vary from apple to pumpkin, chocolate to custard, the crust determines the pie’s success. A good crust should be flaky, tender, and flavorful, complementing rather than overpowering the filling. Ruth’s Grandma’s Pie Crust is a recipe that has stood the test of time. Passed down through generations, it balances simplicity and precision, resulting in a dough that is easy to handle and bakes into the perfect golden base for sweet or savory pies. With just a few pantry staples and some careful technique, you can recreate this family favorite and elevate any pie you bake.
Ingredients (with detailed measurements)
For one double-crust pie (top and bottom), you will need:
2 ½ cups (315 g) all-purpose flour
1 teaspoon salt
1 teaspoon sugar (optional, for sweet pies)
1 cup (225 g) unsalted butter or lard, chilled and cubed (butter gives flavor, lard adds flakiness—use a mix if desired)
½ cup (120 ml) ice water (you may need a little more or less depending on humidity)
Optional:
1 teaspoon vinegar or lemon juice (added to water to help prevent gluten from overdeveloping, making crust tender)

Instructions (Step-by-Step Guide)
Step 1: Prepare ingredients
Chill butter (or lard) until firm. Fill a cup with ice and water to have ready. Cold ingredients are crucial for a flaky crust.
Step 2: Mix dry ingredients
In a large mixing bowl, whisk together flour, salt, and sugar if using. This ensures seasoning is evenly distributed.
Step 3: Cut in fat
Add chilled butter (or lard) cubes to the flour mixture. Using a pastry cutter or your fingertips, cut fat into the flour until the mixture resembles coarse crumbs with pea-sized pieces of butter still visible. These little chunks create flakiness when baked.
Step 4: Add ice water
Sprinkle ice water into the mixture, starting with 4 tablespoons. Toss gently with a fork. Continue adding a tablespoon at a time until the dough comes together. It should hold when pressed but not feel sticky.
Step 5: Form dough
Turn the mixture onto a lightly floured surface. Gently bring it together with your hands, shaping into two equal discs. Avoid kneading—overworking develops gluten and toughens the crust.
Step 6: Chill
Wrap each disc in plastic wrap and refrigerate for at least 1 hour. This step relaxes gluten and firms fat, making the dough easier to roll.
Step 7: Roll out
Lightly flour your work surface. Roll one disc from the center outward into a 12-inch circle for a 9-inch pie dish. Transfer carefully to the pie pan, pressing gently to fit without stretching.
Step 8: Fill and top
Add your chosen pie filling. Roll out the second disc for the top crust, or cut into strips for a lattice design. Seal edges by pinching or crimping. Vent the top crust with slits if covering fully.
Step 9: Bake
Bake according to your pie recipe’s instructions. For blind baking, line crust with parchment and fill with pie weights, baking at 375°F (190°C) for 15 minutes before removing weights and baking another 10 minutes until lightly golden.
Conservation and Storage
Refrigeration: Dough discs can be refrigerated up to 3 days before rolling.
Freezing: Wrap tightly in plastic and freeze up to 2 months. Thaw overnight in the fridge before using.
Par-baked shells: Store cooled, baked shells in an airtight container at room temperature for 2 days, or freeze for longer storage.
Variations
All-Butter Crust: Use only butter for rich flavor and golden color.
All-Lard Crust: Use only lard for maximum flakiness, though flavor is more neutral.
Gluten-Free: Substitute all-purpose flour with a gluten-free baking blend. Add 1 teaspoon xanthan gum if not already included.
Sweet Crust (Pâte Sucrée): Increase sugar to ¼ cup for a sweeter shell, perfect for tarts.
Savory Crust: Omit sugar and add herbs like thyme or rosemary for quiches and savory pies.
Whole Wheat Crust: Replace up to 1 cup flour with whole wheat flour for a nutty, rustic flavor.
Serving Suggestions
Sweet Pies: Use for apple pie, pumpkin pie, pecan pie, cherry pie, or chocolate cream pie.
Savory Pies: Excellent for chicken pot pie, quiche, or meat pies.
Mini Pies: Roll and cut circles for handheld pies or turnovers.
Tarts: Works beautifully as a base for fruit tarts or custard-filled desserts.
Seasonal Touch: Brush with egg wash and sprinkle sugar for a glossy, golden finish on sweet pies.
Tips for Perfecting the Dish
Keep everything cold: Warm butter melts too early, resulting in a dense crust.
Don’t overwork: Handle dough as little as possible to avoid toughness.
Roll evenly: Rotate dough frequently while rolling to maintain shape and prevent sticking.
Chill again before baking: Refrigerate assembled pie for 15 minutes before baking to prevent shrinkage.
Use a glass pie pan: It allows you to see the bottom crust to check for doneness.
Conclusion
Ruth’s Grandma’s Pie Crust proves that the best recipes are often the simplest. With only a few ingredients and careful technique, this crust turns out tender, flaky, and flavorful every time. Its versatility makes it suitable for both sweet and savory pies, while its make-ahead nature ensures convenience during busy baking seasons. Once you master this recipe, you’ll always have a reliable base for any pie creation, ensuring that every slice begins with the perfect crust.
Print
Ruth’s Grandma’s Pie Crust
- Total Time: 45 minutes (plus chilling)
- Yield: 1 double crust (top + bottom) or 2 single crusts 1x
- Diet: Vegetarian
Description
A classic, flaky, and buttery pie crust recipe passed down through generations. Perfect for both sweet and savory pies, this crust is simple, versatile, and always delivers tender, golden results.
Ingredients
2 ½ cups (315 g) all-purpose flour
1 teaspoon salt
1 teaspoon sugar (optional, for sweet pies)
1 cup (225 g) unsalted butter or lard, chilled and cubed (or a 50/50 mix)
½ cup (120 ml) ice water (may need a little more or less)
1 teaspoon vinegar or lemon juice (optional, for tenderness)
Instructions
In a large bowl, whisk together flour, salt, and sugar.
Cut chilled butter (or lard) into the flour using a pastry cutter or fingertips until the mixture resembles coarse crumbs with pea-sized bits of fat.
Gradually add ice water (with vinegar or lemon juice, if using), 1 tablespoon at a time, tossing with a fork until the dough begins to come together.
Turn dough onto a lightly floured surface. Gently bring together into two discs—do not overwork.
Wrap each disc in plastic wrap and refrigerate for at least 1 hour.
Roll one disc into a 12-inch circle for a 9-inch pie pan. Fit into pan without stretching.
Add filling of choice, top with second rolled disc (or lattice), crimp edges, and vent top crust if covering fully.
Bake according to pie recipe directions. For blind baking: line crust with parchment, fill with pie weights, bake at 375°F (190°C) for 15 minutes, then remove weights and bake 10 more minutes until lightly golden.
Notes
Keep all ingredients cold for best flakiness.
Do not knead—overworking toughens the crust.
Chill assembled pie for 15 minutes before baking to reduce shrinkage.
Works equally well for sweet fruit pies or savory quiches and pot pies.
- Prep Time: 20 minutes (plus 1 hour chilling)
- Cook Time: 25 minutes (for blind bake)
- Category: Baking / Pastry
- Method: Mixing and Baking
- Cuisine: American / European
Nutrition
- Serving Size: 1 slice of crust
- Calories: 170 kcal
- Sugar: 1 g
- Sodium: 105 mg
- Fat: 11 g
- Saturated Fat: 7 g
- Unsaturated Fat: 4 g
- Trans Fat: 0 g
- Carbohydrates: 15 g
- Fiber: 1 g
- Protein: 2 g
- Cholesterol: 30 mg
Keywords: Ruth’s Grandma’s pie crust, flaky pie dough, homemade pie crust, buttery pastry, traditional pie crust