
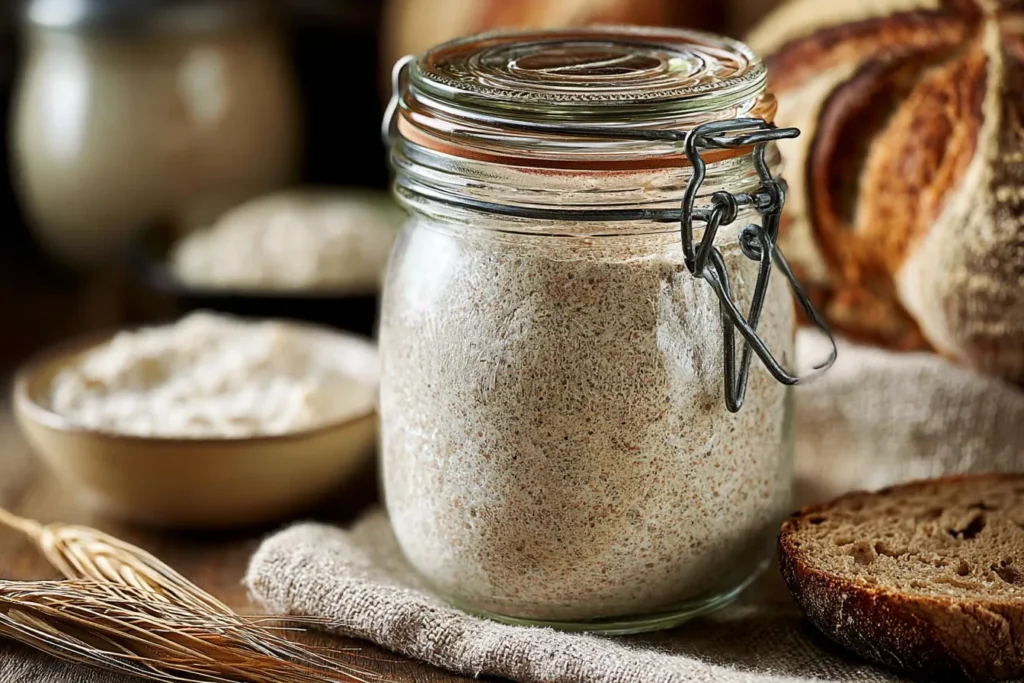
Is there anything more rustic and satisfying than baking with a traditional sourdough starter? This age-old method of leavening dough not only offers a wealth of deep flavor but also fosters a unique connection to the art of bread-making. The allure of sourdough lies in its tangy aroma and chewy crust, which can transform any meal into a memorable experience.
Moreover, cultivating a sourdough culture at home is both a rewarding and enjoyable journey. As you nurture your starter, you’ll discover the intricate relationship between flour, water, and natural yeasts. Whether you’re an experienced baker or a curious novice, crafting deliciously fermented bread from your own traditional sourdough starter opens up a world of culinary possibilities.
Understanding the Basics of Sourdough:
Creating a traditional sourdough starter is an exciting journey into the world of fermentation. At its core, a sourdough starter is a blend of flour and water that captures wild yeast and bacteria from the environment. This mixture ferments over time, enabling it to rise your bread naturally. To cultivate your own starter, combine equal parts of flour and water in a jar, and allow it to sit at room temperature for several days, feeding it regularly.
One fascinating aspect of sourdough is its versatility. Once your starter is established, you can use it to whip up various delicious recipes. For instance, consider baking sourdough cinnamon rolls, which transform this tangy dough into delightful, pillowy treats. The flavors of your starter will deepen and develop character over time, making every loaf unique. With patience and care, you’ll soon enjoy the rich aroma and satisfying texture that only a traditional sourdough starter can offer.
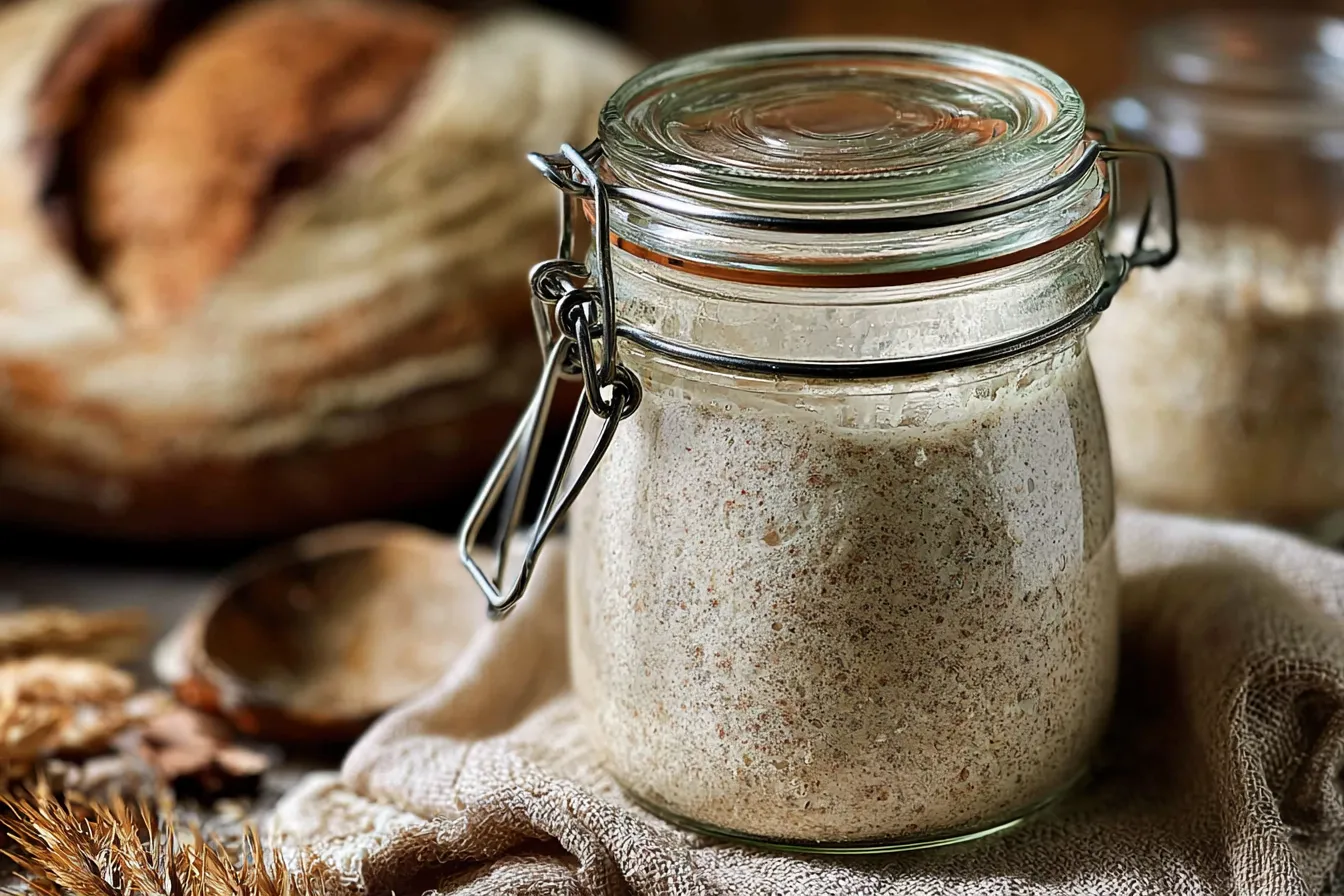
Ingredients for Traditional Sourdough Starter:
Creating a Traditional Sourdough Starter is a rewarding endeavor that sets the stage for baking delicious breads. To craft this starter, you will need:
- 1 cup (120 g) unbleached all-purpose flour
- 1/2 cup (120 ml) non-chlorinated fresh water
Begin your sourdough journey by combining the flour and water in a clean jar. Stir until smooth and free of lumps. Cover the jar loosely to allow air to circulate, which nurtures the wild yeast. During the upcoming days, you will feed this mixture daily with equal parts flour and water to build its strength.
For some fantastic baking inspiration using your starter, consider trying sourdough pumpkin bread. This recipe showcases how your starter can enhance flavors and textures, creating a delicious result for your family and friends.
With patience and care, your traditional sourdough starter will develop unique flavors, elevating your baking to new heights!
How to Prepare Traditional Sourdough Starter:
Creating a traditional sourdough starter is a simple yet rewarding process. Start with equal parts of unbleached all-purpose flour and non-chlorinated fresh water. To begin, mix 100 grams of flour with 100 grams of water in a clean glass or ceramic container. Stir until well combined, ensuring that no dry flour remains. Cover the container loosely with a cloth or plastic wrap to allow airflow while preventing contaminants.
Allow your starter to rest at room temperature for 24 hours. Each day, discard half of the starter and replenish it with another 100 grams of flour and water. This feeding process encourages the right bacteria and wild yeast to thrive. After about 5 to 7 days, your starter should be bubbly and have a pleasant aroma, indicating it’s ready for baking. For some delightful recipes like sourdough cinnamon rolls, check out this link!
For a comprehensive guide, you can also visit this detailed resource for traditional sourdough starter techniques. With patience and care, your sourdough starter will become the foundation for delicious breads and baked goods.
Feeding Your Traditional Sourdough Starter:
Maintaining your Traditional Sourdough Starter is essential for creating that perfect rise and flavor in your baked goods. Start by discarding approximately half of your starter. This keeps the balance of microbes and nutrients, allowing for a healthier fermentation process. Then, feed it equal parts of all-purpose flour and water. Use room temperature water for the best results, as it encourages yeast activity. Mix until you achieve a smooth consistency and let it sit at room temperature for 6 to 12 hours. During this time, you’ll see bubbles forming, indicating active fermentation.
Once your starter is lively and bubbly, consider using it in delicious recipes like sourdough cinnamon rolls. These sweet treats take advantage of your starter’s unique flavor profile. By feeding your starter regularly, you ensure that you have a dependable leavening agent ready to elevate your baking adventures.
Troubleshooting Common Issues:
Creating a Traditional Sourdough Starter is both an art and a science. However, many bakers encounter issues along the way. If your starter isn’t bubbling or rising, it may need more warmth or frequent feedings. A warm spot in your kitchen can help foster yeast activity. Conversely, if your starter has a foul smell or develops a pinkish hue, it may be contaminated and should be discarded. To maintain a healthy starter, consider using a glass container, which allows you to monitor activity visually.
If you’re looking for a delicious way to use your sourdough starter, try making sourdough cinnamon rolls. They are soft, fluffy, and full of flavor, making them a perfect treat for breakfast or dessert. Don’t forget, regular feedings and the right environment ensure your sourdough starter remains active and robust!
Storage Tips for Traditional Sourdough Starter:
To keep your traditional sourdough starter lively, store it in the refrigerator if you’re not baking regularly. Utilize a glass jar with a loose lid to allow airflow. Feed it weekly to maintain its activity. Alternatively, for a delicious baked treat, consider trying sourdough cinnamon rolls, which can be made with your starter!
Frequently Asked Questions (FAQs):
What is a Traditional Sourdough Starter?
A Traditional Sourdough Starter is a mix of flour and water fermented with wild yeast and bacteria from the environment. This natural leavening agent not only adds flavor but also helps the dough rise. The result is a tangy, aromatic bread with a distinct crust.
How long does it take to prepare a Traditional Sourdough Starter?
Typically, it takes about 5 to 14 days to develop a robust starter. This time allows the wild yeast and beneficial bacteria to cultivate properly, ensuring a strong leavening effect for your baking.
Can I use all-purpose flour for my Traditional Sourdough Starter?
Yes, you can certainly use all-purpose flour. However, whole grain flours, like whole wheat or rye, contain more nutrients, which may accelerate fermentation and enhance flavor.
How often should I feed my Sourdough Starter?
For a lively starter, it’s ideal to feed it every 12 to 24 hours if left at room temperature. If stored in the fridge, it can be fed every week or two, but remember to bring it back to room temperature before using it.
What can I make with my sourdough starter?
With your activated starter, you can create delightful treats like sourdough cinnamon rolls or even flavored bread varieties. The possibilities are endless when it comes to sourdough baking!
Is it safe to use a Traditional Sourdough Starter?
Absolutely! As long as you maintain proper feeding schedules and observe good hygiene, a well-cared-for starter is not only safe but essential for delicious sourdough bread.
Print
Traditional Sourdough Starter
- Total Time: 5–10 days
- Yield: About 300 g active sourdough starter after feeding
- Diet: Vegetarian
Description
Create your own Traditional Sourdough Starter at home using just two simple ingredients. This starter will enhance your baking with rich flavors and the perfect rise.
Ingredients
- Unbleached all-purpose flour
- Water and preferably non-chlorinated fresh water
Instructions
- In a clean jar, combine 100g of unbleached all-purpose flour with 100g of non-chlorinated fresh water.
- Mix until smooth and cover loosely with a lid or cloth to allow airflow. Let it sit at room temperature for 24 hours.
- For the next 5 to 7 days, feed the starter daily with equal parts flour and water, discarding half of it before each feeding.
- Once it is bubbly and doubles in size within a few hours, your Traditional Sourdough Starter is ready for baking!
Notes
Make sure to use non-chlorinated water for the best results, as chlorine can inhibit yeast growth.
- Prep Time: 10 minutes
- Cook Time: 0 minutes
- Category: Bread, Baking Basics, Starter
- Method: Fermentation
- Cuisine: American
Nutrition
- Serving Size: 50 g starter
- Calories: 170 kcal
- Sugar: 0 g
- Sodium: 2 mg
- Fat: 1 g
- Saturated Fat: 0.2 g
- Unsaturated Fat: 0.8 g
- Trans Fat: 0 g
- Carbohydrates: 36 g
- Fiber: 2 g
- Protein: 6 g
- Cholesterol: 0 mg
Keywords: Traditional Sourdough Starter, Sourdough, Baking, Yeast, Bread Making